
Post updated 25 August 2025
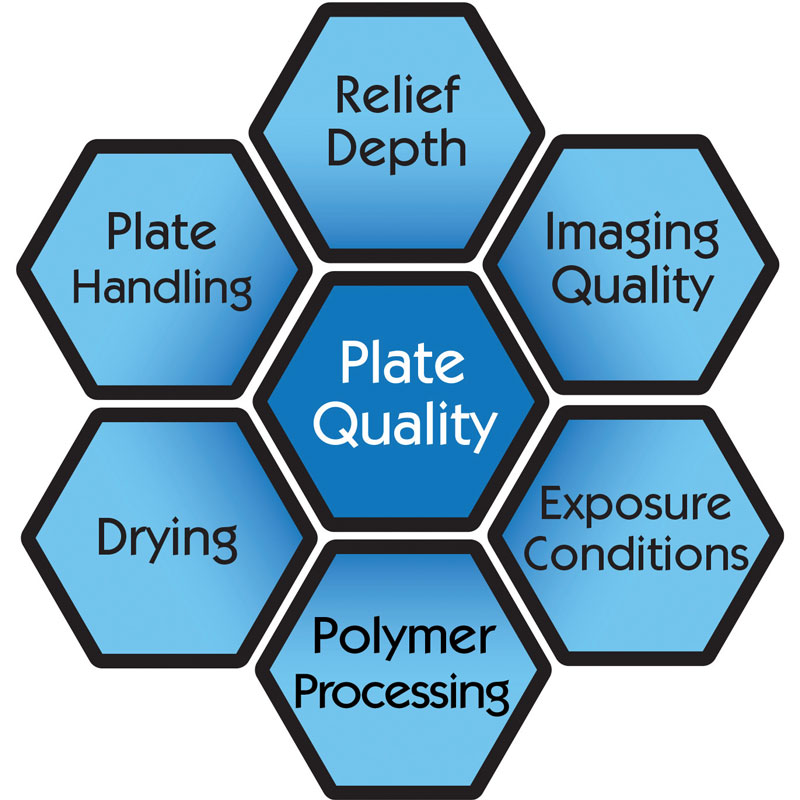
Platemaking is a science, not an art. While there is a bit of flexibility in specifications for different processes, there are defined parameters that must be followed if high quality plates are to be made consistently. In this article, we’ll discuss six important factors for making high quality plates.
1. Relief Depth
Relief depth is the difference in height between the printing surface and the floor of the plate. We can obtain this measurement by measuring the overall plate thickness, then subtracting the floor thickness. There are recommended relief depths for different plate thicknesses:
| Plate Thickness | Ideal Relief Depth | Max Relief Depth |
|---|---|---|
| 0.045” (1.14mm) | 0.018” – 0.022” | 0.022” |
| 0.067” (1.70mm) | 0.018” – 0.022” | 0.025” |
| 0.112” (2.84mm) | 0.020” – 0.025” | 0.030” |
| 0.250” (6.35mm) | 0.050” - 0.070” | 0.070” |
Check out these tips:
2. Imaging Quality
Whether you’re using digital or analog plates, the finished plate cannot exceed the quality of the original image carrier. If you’re making analog plates using film, confirming proper film density (Dmax of 4.0+) is critical. With digital plates, the digital imager must be checked for correct focus and power (stain) settings periodically (every 4 to 6 weeks, or any time the laser head is contacted by a loose plate). These tests can be done yourself with the proper tools and training, by your digital imager supplier, or by APR’s TSG group.
If using Pixel+ screening from Esko it’s important to know the stain value of the boosted pattern in use. For example, a 310% Pixel Boost with MCWSI on a plate type may have a correlated density of 0.22D. This will need to be consistent if making plates for a specific printing configuration on different platemaking equipment. The boost value will need to be reevaluated anytime there is a significant change in plate type, inks, or mounting tape.
3. Exposure Conditions
Plate exposure units contain two types of UV exposure: UVA bulbs (for back, main, and post exposures), and UVC bulbs (for light finishing). For maximum plate quality, these bulbs must be monitored and replaced at the end of their useful life. Traditional UVA fluorescent bulbs have a shorter life expectancy than more modern UVA diodes (see articles below for more details). While extending exposure times to make up for weak bulbs can work in a pinch, this tactic sacrifices plate quality. Longer exposure times can lead to broadening of the plate’s shoulder angle, resulting in dot gain and filling in of fine reverse detail (especially with analog plates). UV-LED bulbs don’t require a warm-up like bank fluorescent but may require a burn-in period after initially installed.

To prevent imaging and exposure defects, the plate room environment should be kept clean and free of dust to prevent any unwanted debris from contaminating the plate before or during exposure. It is suggested to have positive air pressure to help maintain a clean plateroom and minimize the introduction of dust.
Check out these tips:
- Exposure Bulb Tips: Why should I replace my bulbs?
- UVA Light Sources: EXPOSED! – Bank Light vs LED Light Systems
- How to Minimize Plateroom Dust
4. Polymer Processing
Both solvent and aqueous platemaking use liquid to wash away the unexposed photopolymer in the plate’s non-printing areas. This liquid, whether a hydrocarbon solvent or water, will eventually become contaminated with dissolved polymer solids. The level of saturation, or percent solids, can have a dramatic effect on both plate quality and equipment maintenance.
- In solvent platemaking, it’s recommended to keep the concentration of solids below 6% to ensure optimum plate washout and keep equipment maintenance to a minimum. If the solids are allowed to collect above this level, the result can be increased washout time, which results in a longer dwell time in solvent for the plate, culminating in a longer drying time. Extensive cleaning may also be needed to remove excess polymer buildup throughout the system.
- In aqueous platemaking, weekly solution changes and machine cleanings are key to trouble-free operation. Since aqueous polymer doesn’t dissolve completely in water, there is a chance that small particles of polymer could re-deposit onto the plate if they are not removed from the system. It is essential that these machines are kept clean and proper filtration is used to manage the washout solution.
- Since thermal processors utilize a one-time-use wicking media to remove the uncured photopolymer, there is no polymer saturation to monitor– only the amount of wicking media remaining in the machine. The amount of uncured polymer removed is part of the equipment manufacturer’s plate processing recipe. The amount of heat, pressure, and number of passes is specified by the equipment manufacture. The developer roll material also plays a key role in the amount of polymer removed each pass as some materials are more absorbent than others.
5. Drying
One of the most important, yet most overlooked factors in solvent plate quality control, complete drying is crucial to consistent platemaking. Incomplete drying can be caused by several factors, including early removal of the plate from the dryer, inadequate dryer air circulation, and improper drying temperature. To check a solvent plate for complete drying, remove the plate from the dryer and allow to cool for 5 minutes. Next, measure the overall plate thickness with a micrometer (see Tools of the Trade: Plate QC article mentioned previously). The plate should be no thicker than 0.001” - 0.002” over the original plate gauge (be sure to measure the original gauge on a sheet of raw material). When plates are not completely dry, they remain swollen from absorption of solvent. This can lead to problems on press including poor registration, over-impression, and decreased plate life.
6. Plate Handling
Good plate handling and storage practices can save time and money with both press downtime and plate remakes. Plates should always be handled with care and treated as a fragile component of the printing press. Never place objects on top of plates, fold/crease plates, or expose plates to unknown chemicals. Plates can only be stacked flat when foam or parchment paper is placed between them to prevent direct contact.
Environmental factors that can harm printing plates include exposure to room light or sunlight, and storage near ozone-producing equipment (most common offenders include: HVAC and electrical equipment).
To ensure maximum plate life, used plates should be cleaned as soon as they are removed from press using an approved cleaner and a soft horsehair brush. Another great option for plate cleaning is an automated plate cleaning machine. These simple machines make quick work of dirty plates, produce consistent cleaning results with minimal labor, which streamlines the post-press workflow and makes the most of valuable employee time. By following these simple steps, you will ensure that your platemaking and storage is as efficient and effective as possible.
Check out these tips:
- Best Photopolymer Plate Storage Practices: The Quiet [Plate] Killer
- Photopolymer Plate Cracking – UV High & Ozone Damage
- Minimizing Plate Costs – Part 1 – Automatic Plate Cleaners
For more information regarding products or procedures mentioned in this article, contact APR’s Technical Solutions Group ([email protected]).