
Struggling with printing pleasing highlights?
Using these tips, your highlight issues can fade to zero!

Prepress & Software
Your press can only print as good as the artwork it’s given, so it’s only fitting that prepress plays a key role in improving highlight quality. While there are some tricks to provide an illusion of smooth highlights (for example, printing a minimum throughout the entire image), these shortcuts often result in a loss of tonal range. This is a considerable problem, especially with expanded gamut where maximum tonal range can make or break hitting a spot color match. The best solution is to implement a screening technology such as Esko’s HD Flexo, specifically engineered to soften highlight transitions to zero. When properly optimized with the printer’s process, HD Flexo will reliably produce a soft, nearly invisible edge.
Maximizing Color Gamut
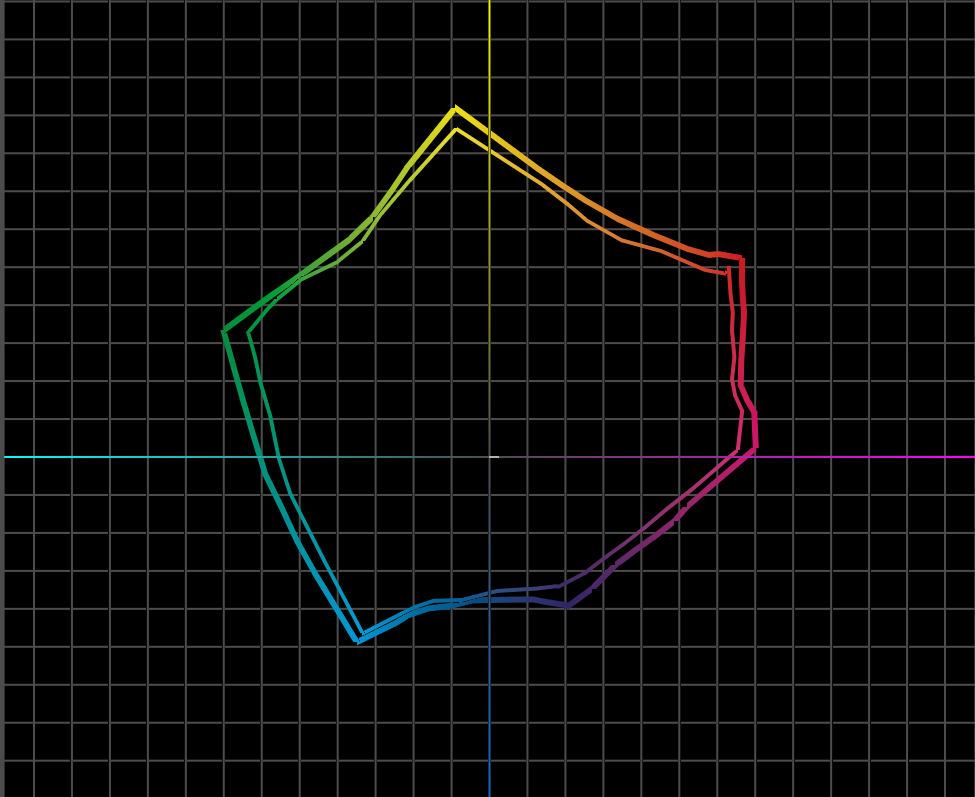
Matching spot colors using process builds is becoming more common for one major reason- efficiency. Whether using CMYK or ECG printing, keeping the same process colors in press and minimizing color changeovers just makes sense. Utilizing the latest screening technologies ensures you'll get the largest gamut possible for your ink set, saving valuable press time. We recently worked with a wide web printer to quantify the change in CMYK color gamut between plates made with Esko's Pixel+ surface screening and without. The results were a gamut volume change of more than 50,000 over the standard plate (a 15% increase in volume). This equates to more achievable spot color builds, as compared to standard imaged plates.
Platemaking & Plates
Now that we have the artwork optimized for the best possible highlight reproduction, we need to get that artwork to press. Selecting the correct printing plate is a critical part of this process. There are many varieties to choose from, but a good rule of thumb is to let the substrate dictate the plate selection. More specifically, the durometer (hardness) of the plate plays a key role in both the printability and longevity of the plate as it performs with a given substrate. Harder plates are suitable for films and very smooth substrates. Medium to medium-hard plates work very well with coated papers and most label stocks, however, can also offer good performance with films and smoother substrates for users who work with multiple substrates and want to work with one plate spec. Soft plates are usually reserved for corrugated or coating applications. Dot formation should also be taken into consideration. Flat top dot plates, such as the MacDermid LuX ITP products, produce extremely small and highly stable dots- perfect for pairing up with HD Flexo screening technology. You can find more about this pairing here (4MB PDF file).
Press: Mounting Tape & Impression
Once the plate makes it onto press, we need to ensure that the press is set up in a way that’s optimized for printing with the smallest amount of dot gain possible. Mounting tape selection can have a huge impact on dot gain. Traditionally, soft to medium-soft tapes tend to produce the least amount of dot gain, and therefore the smallest printed highlight dot. Of course, this can be a bit of a balancing act and soft tapes don’t usually produce the best solid quality. Solid screening technologies can buffer this effect, allowing for excellent solid performance, even when soft tapes are used to maintain highlight quality.
With the ever-expanding use of flat-top plates (FTP), we find that the latitude of tape selection widens. Because of the flat-top dot structure, plates can be mounted on softer tapes than in the past because the operator can increase impression to obtain better solids without the adverse effect of dot gain and slur that we experience with a conventional photopolymer plate. The same can be said for harder tape selections, as the flat-top dot structure experiences lesser dot gain and therefore some users prefer a harder tape. Only through testing can one be certain which level of tape compressibility is best for them. One thing is certain; you will not find it difficult to select a mounting tape that performs well in achieving a fade when using FTP technology.
Press: Anilox Selection
Finally, all of this comes together when the plate starts transferring ink to the substrate. When printing screened or process work, it’s generally recommended to choose an anilox roll with an LPI of at least six times (6x) the printing LPI. So, for example, a job printing at 150 LPI would require at least a 900 LPI anilox roll. This ensures that the plate isn’t over-inked, causing print issues such as dot bridging or excessive highlight gain. Keep in mind that the 6:1 ratio is based on the assumption that the plate will have a min dot of less than 5%. If the printer does not print dots below 5% then broadening the minimum anilox lpi to plate lpi may be considered at 5:1. Once again FTP technology offers more support when in contact with the anilox cell walls, whereas the convention rounded top dot finds itself in need of the 6:1 support ratio.