What is an Impression Target?
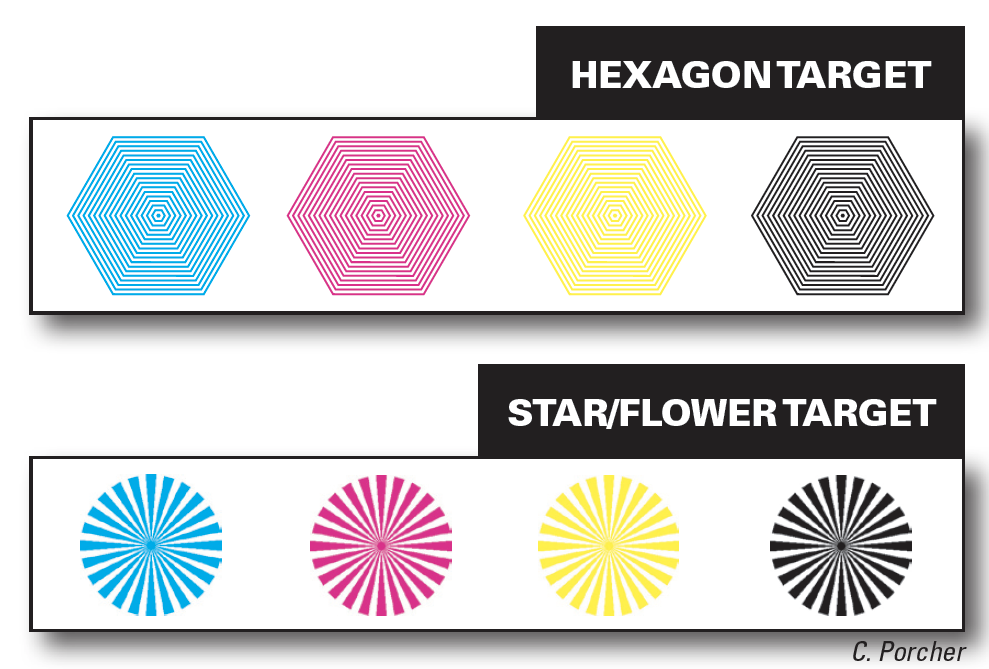
Impression targets are a great tool for process control and press setup. You may be familiar with the hexagonal target often called a slur target. Another common target used to assist with optimizing impression settings is the star or flower target.

How does the Slur target work?
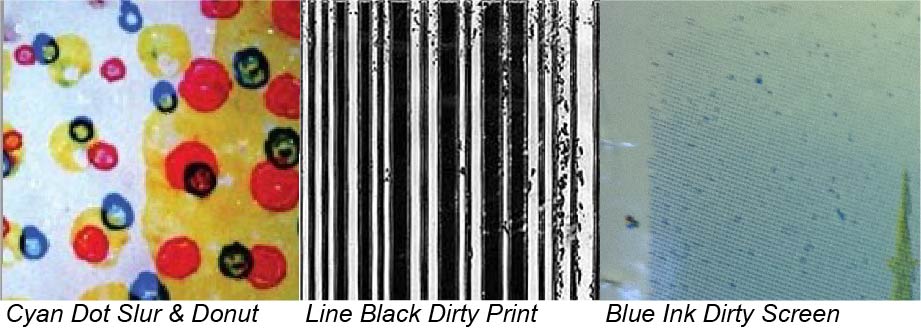
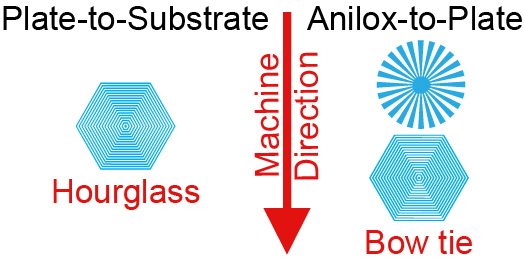
Due to the nature of the flexible 3-D print surface of a Flexo plate, over-impressing the plate to the substrate (called the plate-to-substrate impression) will typically result in print defects such as slur, halos, and donuts. Slur will affect the appearance of different printed features, such as elongated dots or the thickening of lines in the web or machine direction (circumferentially). The slur target captures this as the horizontal lines thicken, resulting in the appearance of an hourglass shape in the web direction.

Both the Star and Hexagonal targets are useful for anilox-to-plate impression. Too much anilox-to-plate impression results in over-inking the plate. Operators will notice the color seems darker, and reversed features may fill in. Also, screens and the edges of solid features begin to print dirty. When there is too much anilox-to-plate impression, a bow tie will appear in the hexagonal slur target across the web direction. In the case of the star target, the center fills in.

Which is better?
Both are great targets to help expedite press setup and ensure consistency throughout the press run; however, if you only have room for one target, I recommend the hexagonal "slur" target. It offers visual guidance for both plate-to-substrate and anilox-to-plate impression checks. The star target is really only effective for anilox-to-plate impression-setting checks. Of course, both targets can also be useful in assessing if you have insufficient impression as well.
The key with the Hexagonal target is to ensure it is positioned correctly to the web direction (see above). If rotated 90º, the target may still show slur, but you will not benefit from seeing the classic "hourglass" or "bow-tie" style patterns.
Important Update:
While these targets are great tools for optimizing the press during setup, they do not always effectively show over impression as well as we might wish they would. In fact, especially with more modern presses, getting the bow tie effect from too much anilox impression may require much more than a subtle “over-inking” of the plate. If the target is upscaled or downscaled, thus impacting the line weight and spacing between lines, this may also impact the effectiveness of the target regardless of how it is positioned. Other print variables, such as the type of ink, substrate, and anilox volume, will also likely influence the potential visual impact of over-impression. It is always ideal to use the hex and star targets in conjunction with the physical inspection for other indicators (such as slurred dots, dot bridging or dirty print, fill-in, halos, dot donuts, etc.) when setting up the press and optimizing plate and anilox impressions. As of 2023, there is an active FTA FQC project looking to explore better ways to detect and measure impression variations using these and other targets. Hopefully, this study will lead to less subjective and better tools for optimizing impression settings. We plan to provide updates once this study is completed.
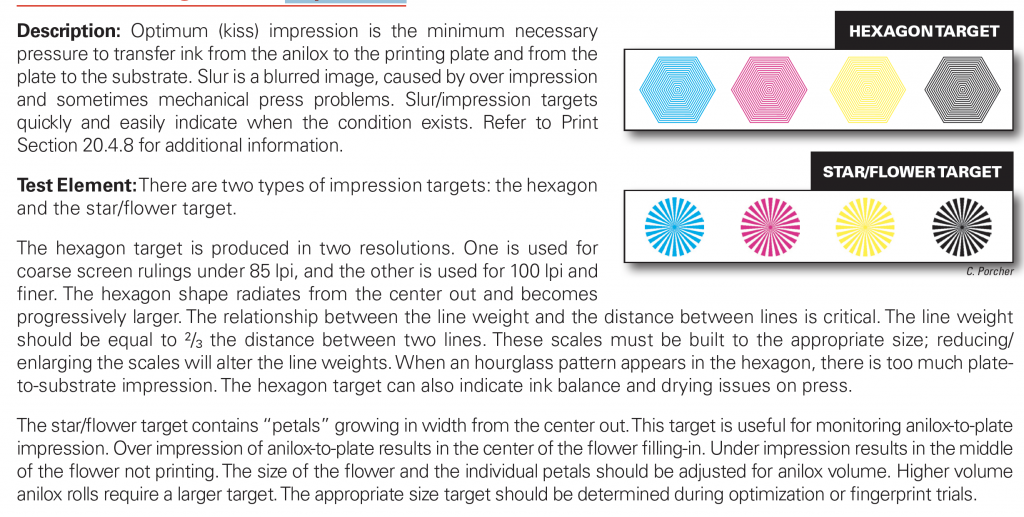
Excerpt from the FTA FIRST book about these targets


Why does rotating the Hexagonal target 90º render it useless?
Hi Ken. Great question. In fact, I have recently seen where having this target turned 90 degrees can still be useful, so I plan to update my post. If used this way, you will see a bow tie in the machine direction.
Originally the target was intended to run so the flat side runs across the machine direction. While it is not “useless” to run them the other way it is preferred to run them the other way so you can more easily spot the “hourglass” and “bow tie” shapes. The best part about using this target is that it creates a clear visual pattern.
That said, these targets do not always effectively show over impression as well as we might wish they would. In fact, especially with more modern presses, getting the bow tie effect from too much anilox impression may require much more than a subtle “over-inking” of the plate. If the target is upscaled or downscaled, thus impacting the spacing between the lines, this may also impact the effectiveness of the target regardless of how it is positioned. I would also expect other print variables such as the type of ink, substrate, and anilox volume will also influence the visual impact of over-impression. I always recommend using the hex target in conjunction with inspecting for other indicators (such as slurred dots, dot bridging or dirty print, and halos) when setting up the press and optimizing plate and anilox impression.
Interestingly, there is a FTA FQC project looking to explore better ways to detect and measure impression variations using these and other targets. Perhaps this study will lead to less subjective and better tools for optimizing impression settings. We plan to provide updates once this study is completed.